Keep Your Sewing Machine Purring: Tips for Maintenance!

Introduction

Sewing machines, the backbone of any textile project, deserve the same tender loving care we give to our cherished items. Maintaining these indispensable tools ensures longevity and top-notch performance. Welcome to our guide that's dedicated to helping you master the art of sewing machine service and maintenance.

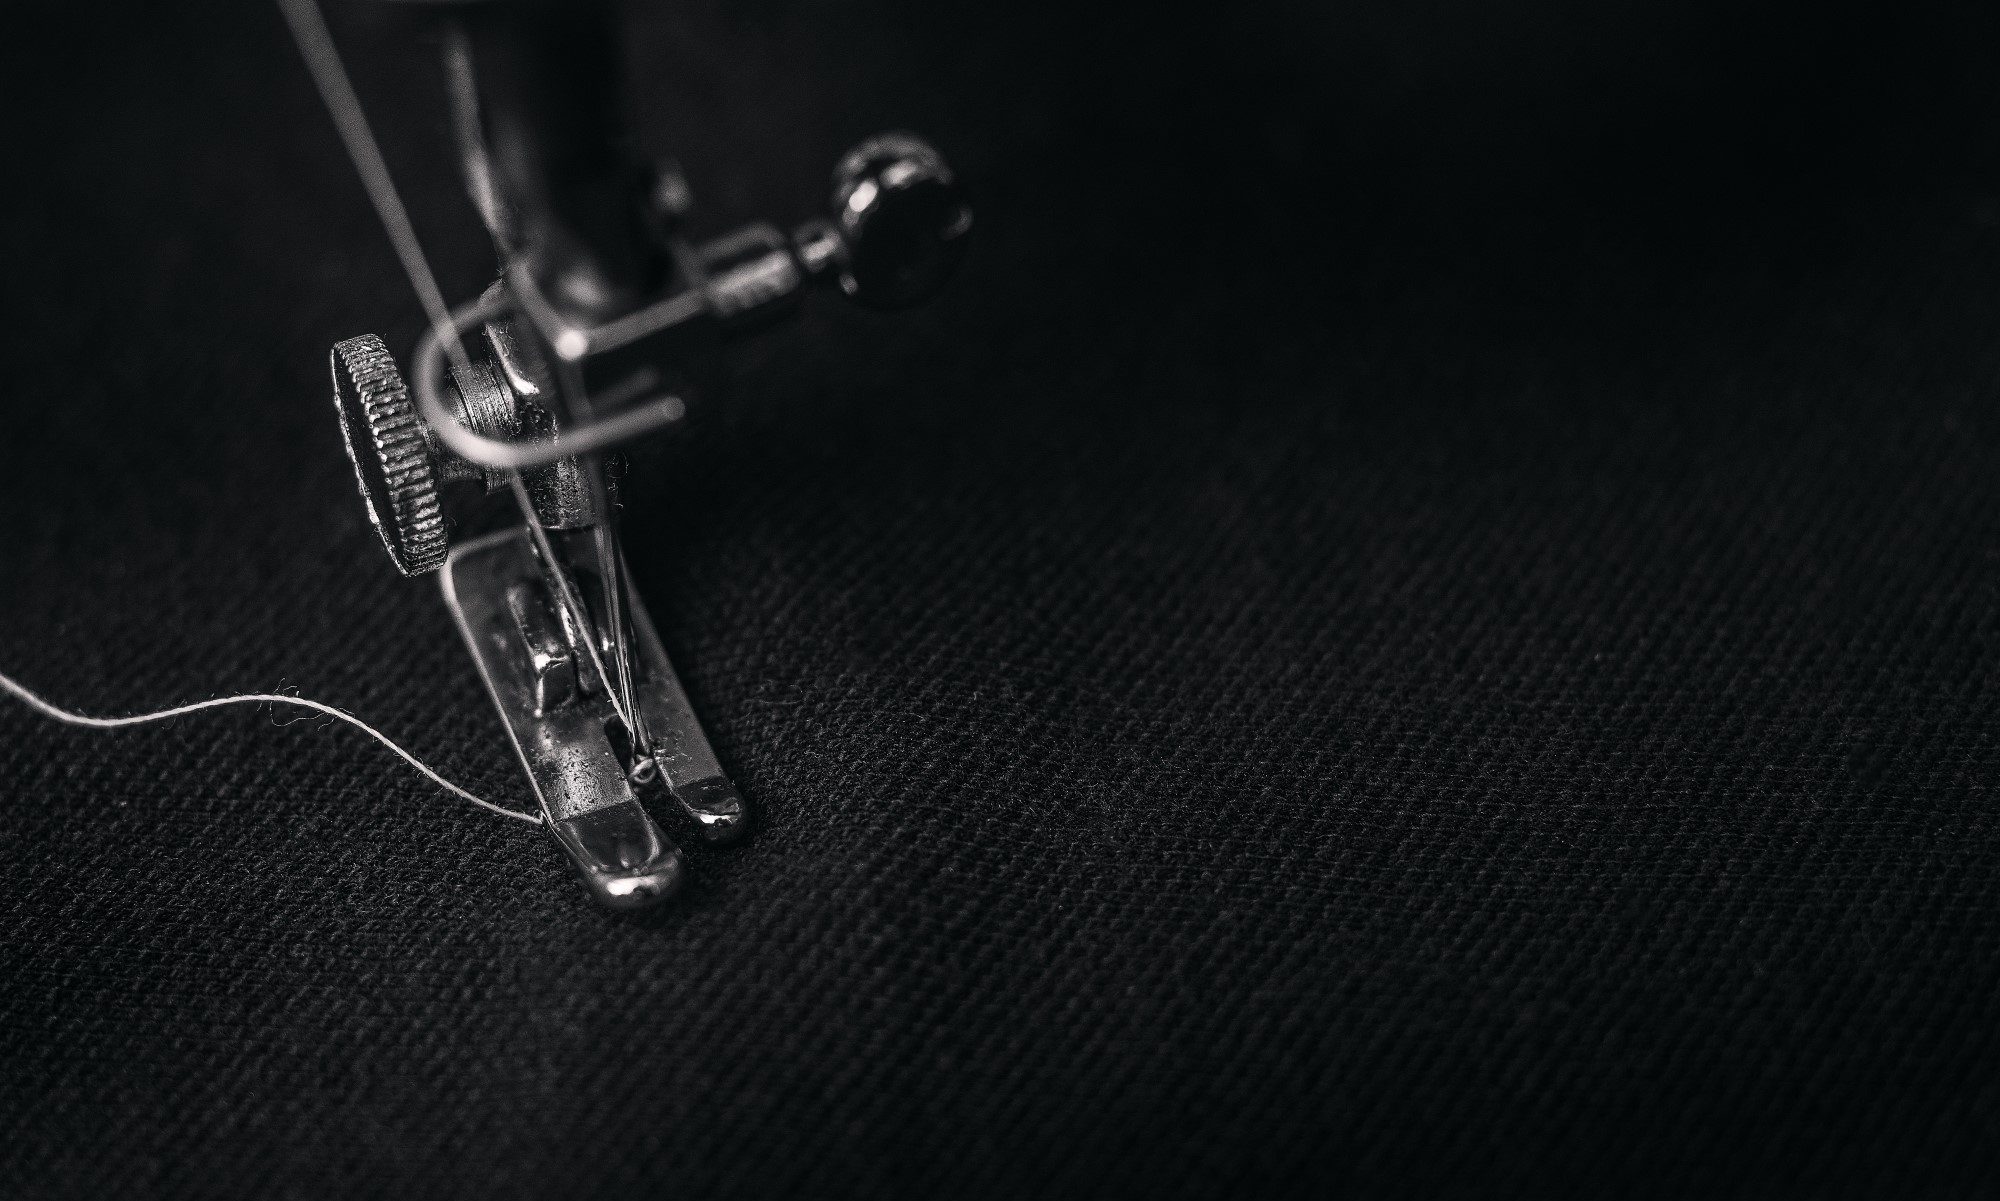
Understanding Your Sewing Machine

Whether you're a hobbyist, a seasoned tailor, or a newbie, understanding your sewing machine's anatomy is fundamental. From the bobbin area to the needle plate, every part plays a crucial role. Knowing your machine inside-out prepares you for effective troubleshooting and proficient sewing machine repairs when necessary.

Importance of Regular Maintenance

Just as vehicles need regular servicing, so do your sewing machines. Regular maintenance prevents minor issues from escalating into major, often costly, repairs. Moreover, your machine performs at its best, yielding superior results for all your sewing projects.

Cleaning Your Sewing Machine

Cleaning your sewing machine is akin to brushing your teeth. It should be a routine, not an afterthought. Dust, lint, and thread bits are common culprits that lurk within, hindering your machine's performance. Use a small brush to remove these from the bobbin area, beneath the needle plate, and other nooks. Don't forget to unplug your machine before cleaning, safety first!

Oiling Your Sewing Machine

Next in line after cleaning is oiling your sewing machine. Like the oil in an engine, sewing machine oil reduces friction between moving parts, ensuring seamless operation. Always use oil specifically designed for sewing machines. Over-oiling can attract dust, so apply sparingly and wipe off any excess.

Changing Needles and Checking the Tension

Routine needle change is essential to maintain your machine's performance and protect your fabric from damage. Also, don’t overlook thread tension, as improper tension can lead to uneven stitches or thread breakage.

Storage and Protection

When not in use, store your sewing machine properly. Cover it to shield from dust and always handle it with care when transporting. These simple practices go a long way in extending its lifespan.

Professional Maintenance and When It's Necessary

Despite regular home service, professional sewing machine service is advisable at least once a year or when complex issues arise. Professionals have the skills and tools to perform intricate sewing machine repairs, ensuring your machine stays in top condition.

Common Troubleshooting Tips

Understanding common issues like skipped stitches or thread bunching and their solutions can save you time and frustration. But remember, when a problem persists, it's best to take your machine to a professional for a thorough sewing machine repair.

Conclusion

Investing a little time in understanding and maintaining your sewing machine can reap great rewards. Embrace routine cleaning, timely oiling, and remember to call in the professionals when necessary. With proper care, your sewing machine will continue to purr and produce beautiful stitches for years to come.

Serger Machine

[[https://www.quiltingmachinesbryan.com]], [[Sewing Machines]]

Threading a serger sewing machine is frequently very difficult. While conventional sewing machines, use only two thread, sergers may use up to eight. Therefore it is much more challenging to thread than regular sewing machines.

Above the thread cones behind the machine is a tall wire thread rack. The threads are drawn up and over the rack. They then are threaded through guides, tension assemblies, some more guides, and finally to their deliver device. It is so easy to get the threads tangled that you need to be careful.

Like on a regular sewing machine, the needles on a serger are used to pull the thread through the fabric. Once the needles reach their lowest position and begin to rise, a thread loop forms. The lower looper moves right to pick up the needle threads.

Then the upper looper moves left picking up the needle threads and lower looper threads drawing them around the stitch finger. All of this produces a wrap around the edge of the fabric known as an overlock stitch.

Certainly, there are many different models of serging machines and everyone has its special way to achieve the threading process; they are all about the same.

The first step in threading a serger is to lift the presser foot lever. This is the same as threading an ordinary sewing machine. When the presser foot is raised, it releases the tension assembly pressure. Next, draw the thread to be used in the upper looper up and over the thread rack. Check your user’s manual for details on wrapping the thread through the guides and follow the threading down to the top of the serger.

Needles are the last things threaded. To do so make sure to thread all of the guides and take up lever leading to the needles. Since there is often more than one needle, it can be awkward to thread them without the use of tweezers of serger needle threader.

Once you finish threading the serger, check the tensions. With the presser foot up, gently pull some thread from the upper, the lower looper, and each needle. You should feel the very little drag. With the presser foot down, repeat the process. You should feel significant resistance on each thread.

Periodically, threads break while serging. There can be several causes for this ranging from faulty thread to burrs on thread line. When thread breaks, remove all the threads.

I know it is painful but do it. Examine the thread line for any rough surfaces on which the thread might snag. Then rethread the machine lower looper first, upper looper, and finally the needles.

If you need to change colors or cones of thread, you can cut the current thread just above the cone and tie it to the new cone.

Then carefully advance the thread through the serger making sure the knot does not snag or jam.

Errors in threading result in messed up stitches. Missed guides, improperly seated tensions, snags, and twists can do havoc to stitches. If your serger is not making proper stitches, re-thread

An advanced air threading system by Janome makes all other serger threading systems obsolete. In less than a minute, you can thread your serger with just the press of a lever. Frustrations over threading are gone. Thread in any order too. Janome puts an end to threading hassles.